At a glance
Review the floor plan with real product quantities and a replenishment routine, then repeat the exercise for a different point in the season.
Give the designer the collection you intend to sell.
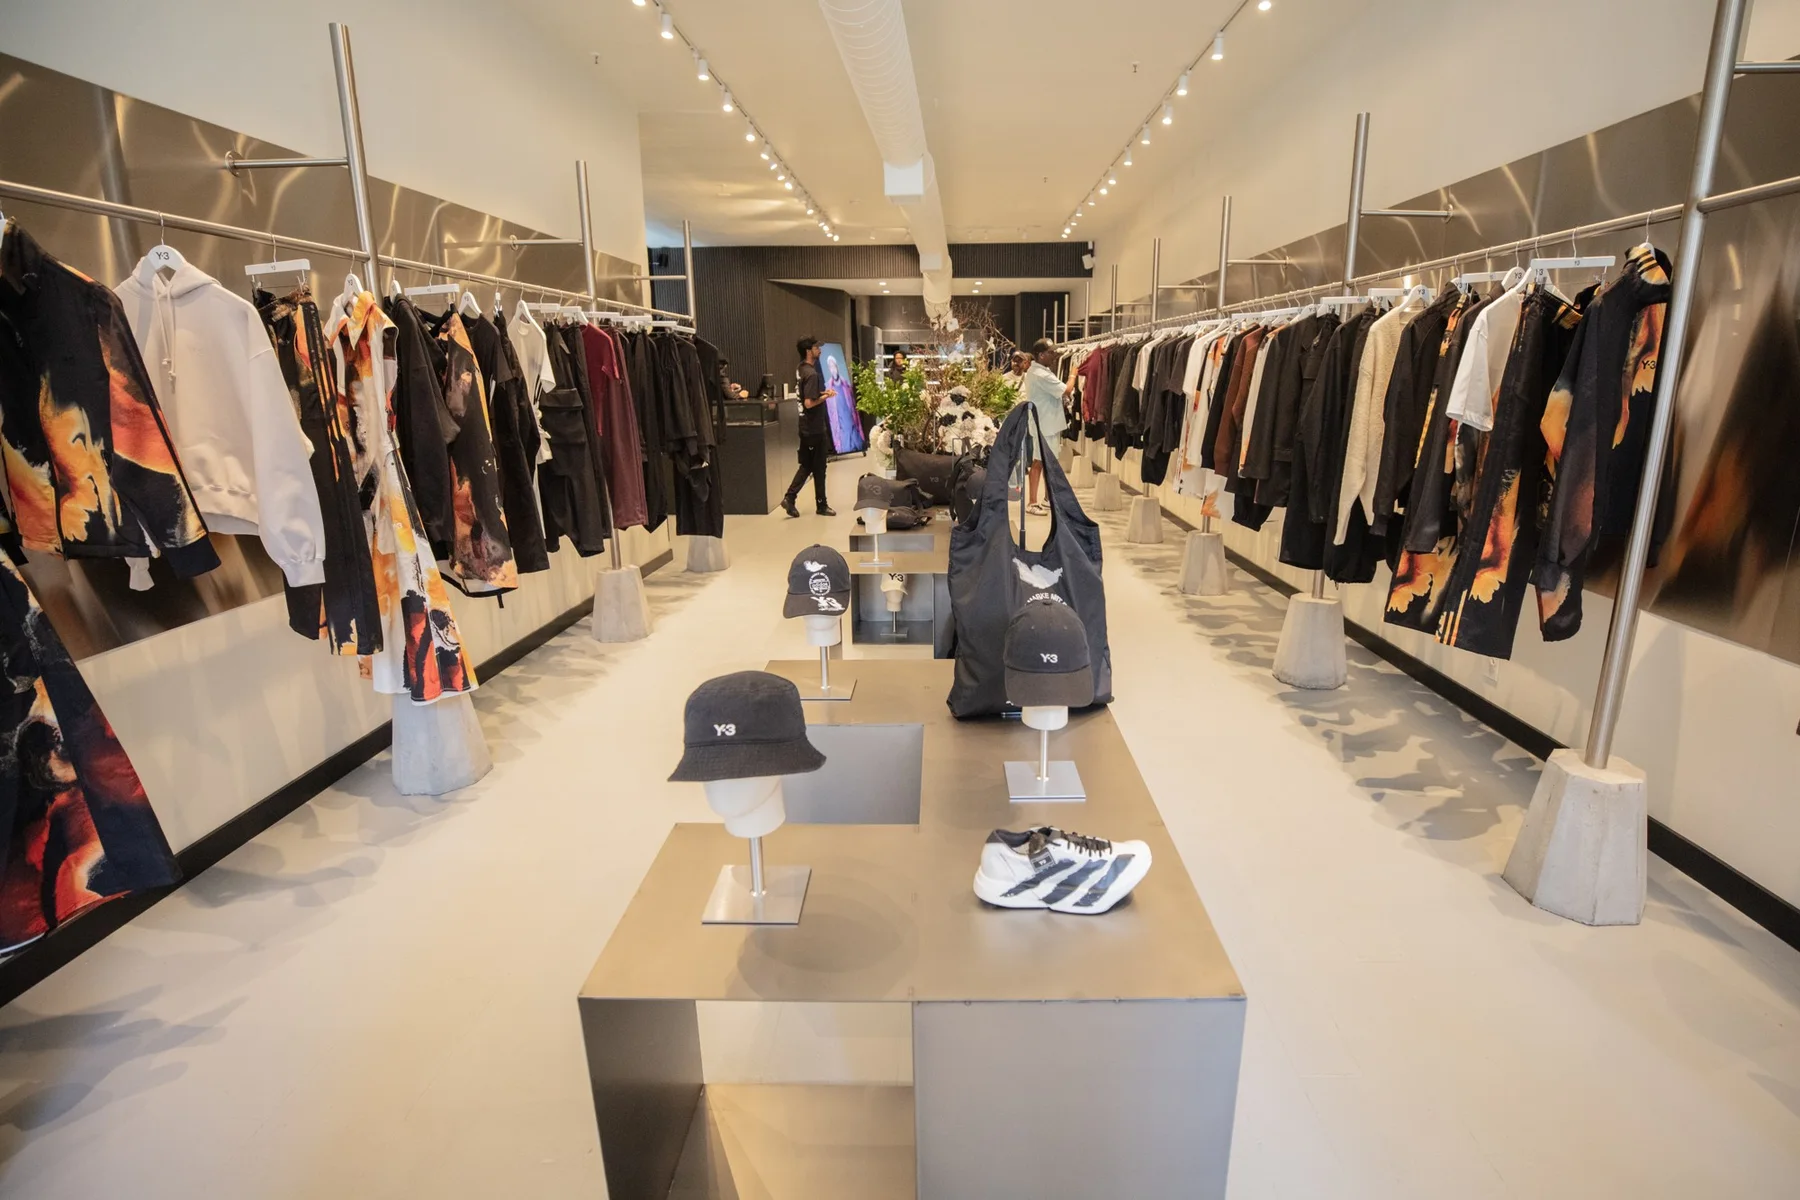
A retail floor plan becomes much easier to discuss when the assortment is in the room. Bring a working product list, the intended groupings and a few representative items. Include packaging and hangers. A product photograph rarely tells the designer how much space the item occupies when it is ready to sell.
Distinguish the story you want to show from the stock you need available. One display shoe can represent a range of sizes. A folded apparel table may hold several units of the same style. The plan needs to explain where both the visible merchandise and the supporting stock will go.
If the assortment is still changing, give the team a range of possibilities and name the decision that remains open. Designing around an assumed range can conceal a disagreement between the buying plan and the store concept until fixtures are already being made.
Build a sample bay before approving all the bays.
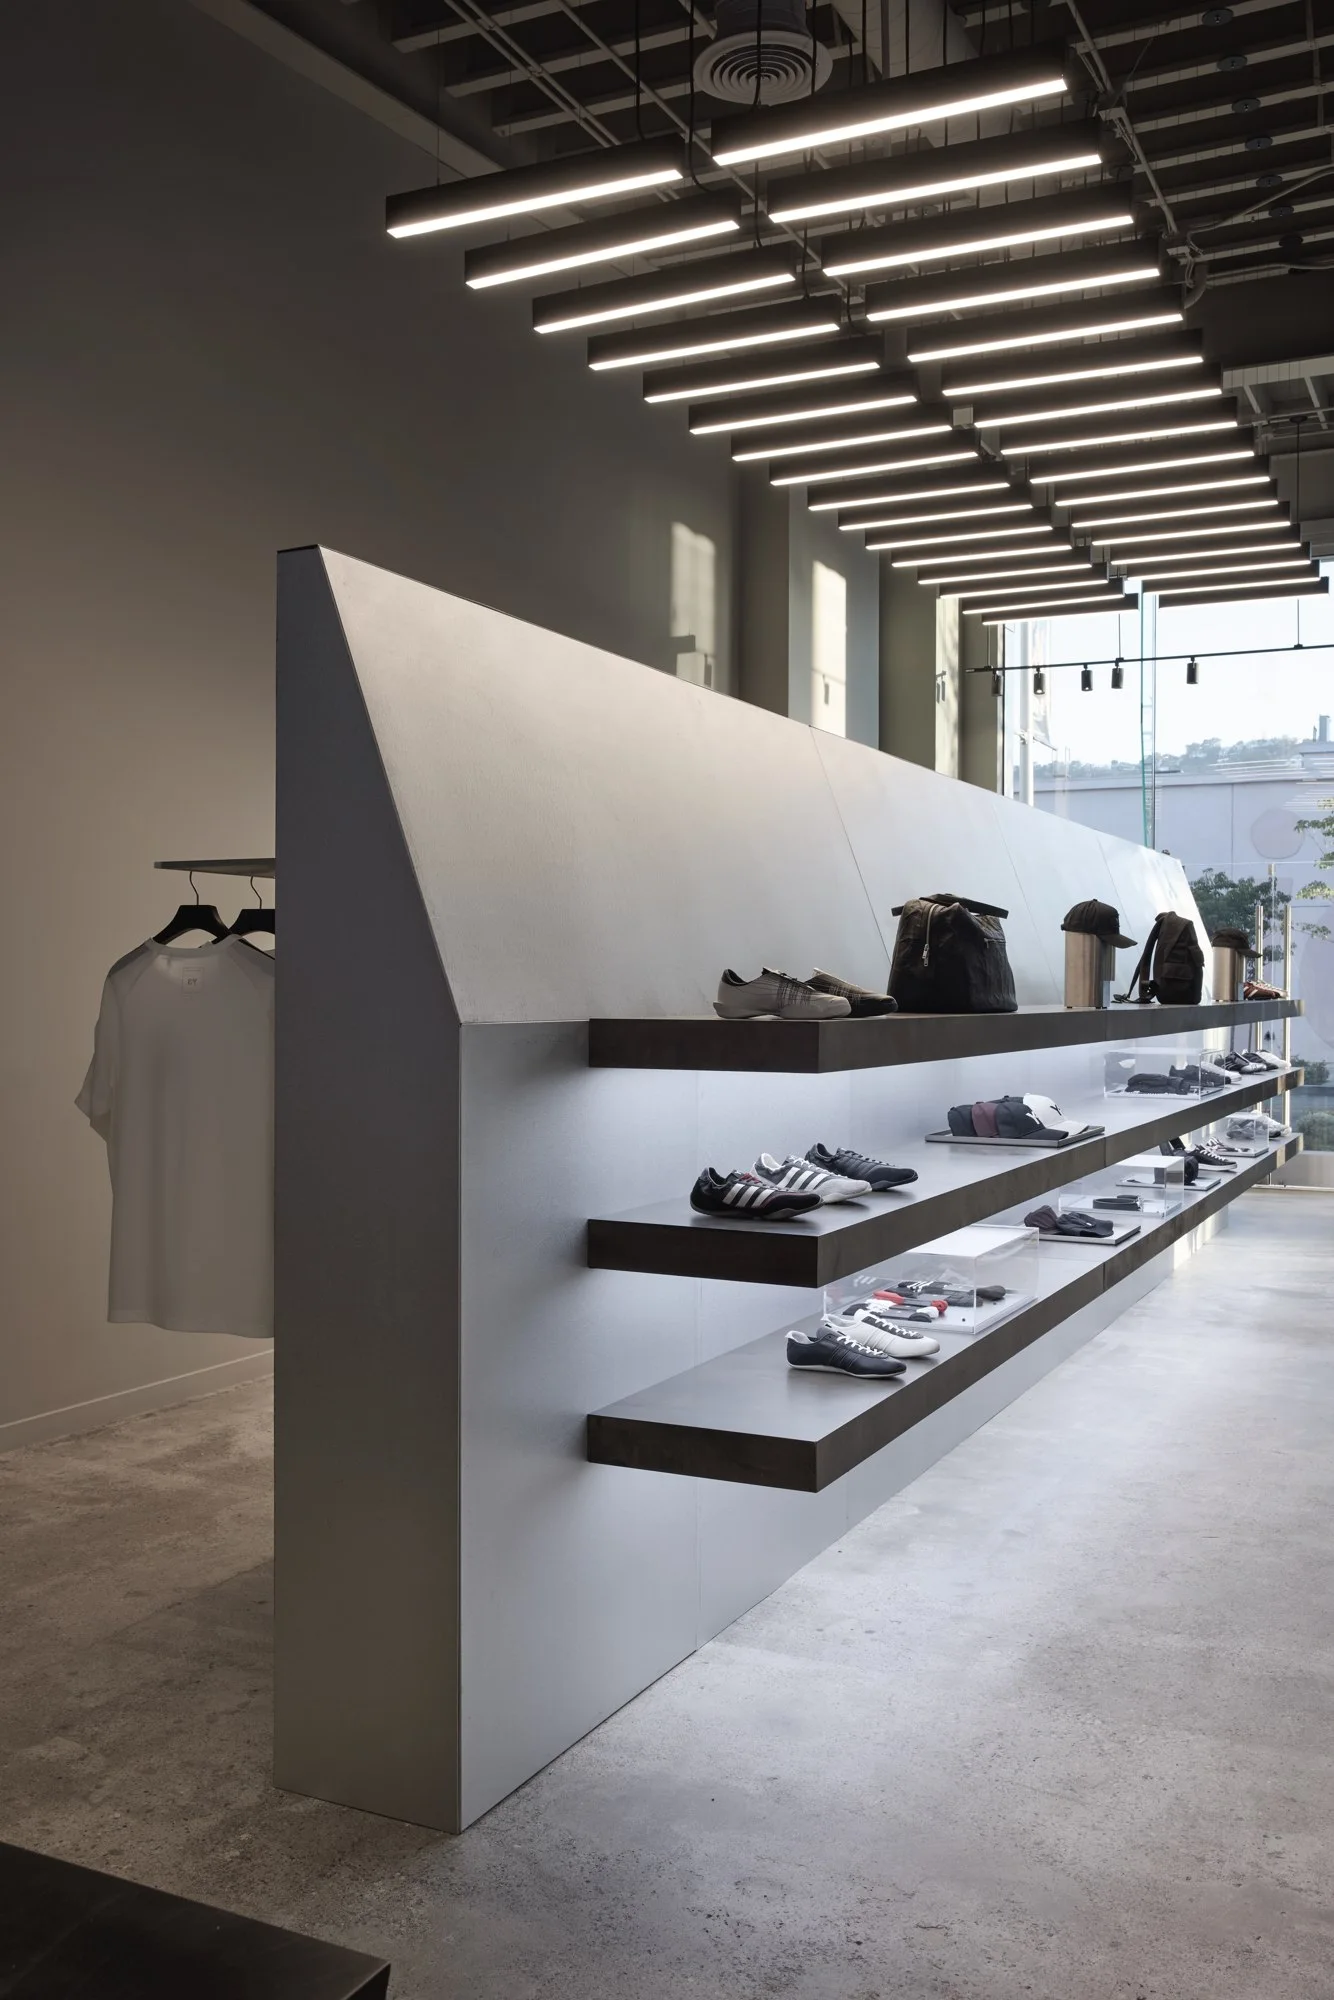
Mock up a representative section of display with the intended product. A temporary setup can be useful at this stage: a proposed shelf width marked out, a sample rail, the actual boxes and the graphic information that will sit beside them.
Try the customer's movement. Pick up an item, compare it with another and put it back. Then try the staff movement: restore the display, change a size and refill what has sold. Check what happens when a product sits slightly out of place, because the store will spend part of its day in that condition.
Consider a hypothetical knitwear display. The initial layout uses a small folded sample. The winter range is bulkier, the stack becomes higher and the sign disappears. Testing both products early gives the team a concrete design problem to solve.
Show how the customer will understand the range.
Grouping by collection, product type, use or color creates different browsing experiences. Decide which relationship is most useful to a customer encountering the brand for the first time. Then test whether the grouping is legible without a staff member explaining every bay.
A new market may bring visitors who recognize the name but do not know the product range. They may need to understand sizing, materials or how items work together. Make space for that explanation in the plan, including the staff interaction where one is useful.
Walk from the entrance to a specific item. What tells someone where to begin? Where can they compare options? Where might they need help? The answers should influence placement and signage while both can still be changed.
Draw the replenishment route.
Choose a few likely requests and trace how the team would fulfill them. If a customer wants another size, who stays with them and where does the second item come from? If a popular display needs refilling, where can staff set down the stock while working?
Include the places used for temporary tasks. A counter that is simultaneously the payment point, packing station and delivery work surface will need a clear routine. Acknowledging those uses gives the design team something specific to resolve.
Review a second version of the store.
Once the opening assortment fits, change the scenario. Introduce the next collection, a larger product, a quieter stock position or a seasonal focus. Ask the team to reset the plan using the same fixtures. This helps identify which elements should adjust and which can remain fixed.
Record the display rules in a format the store can use: a photograph, a capacity note, a product grouping and instructions for the reset. The store team can then reset the display when the collection changes without guessing at the original intent.
How we can help